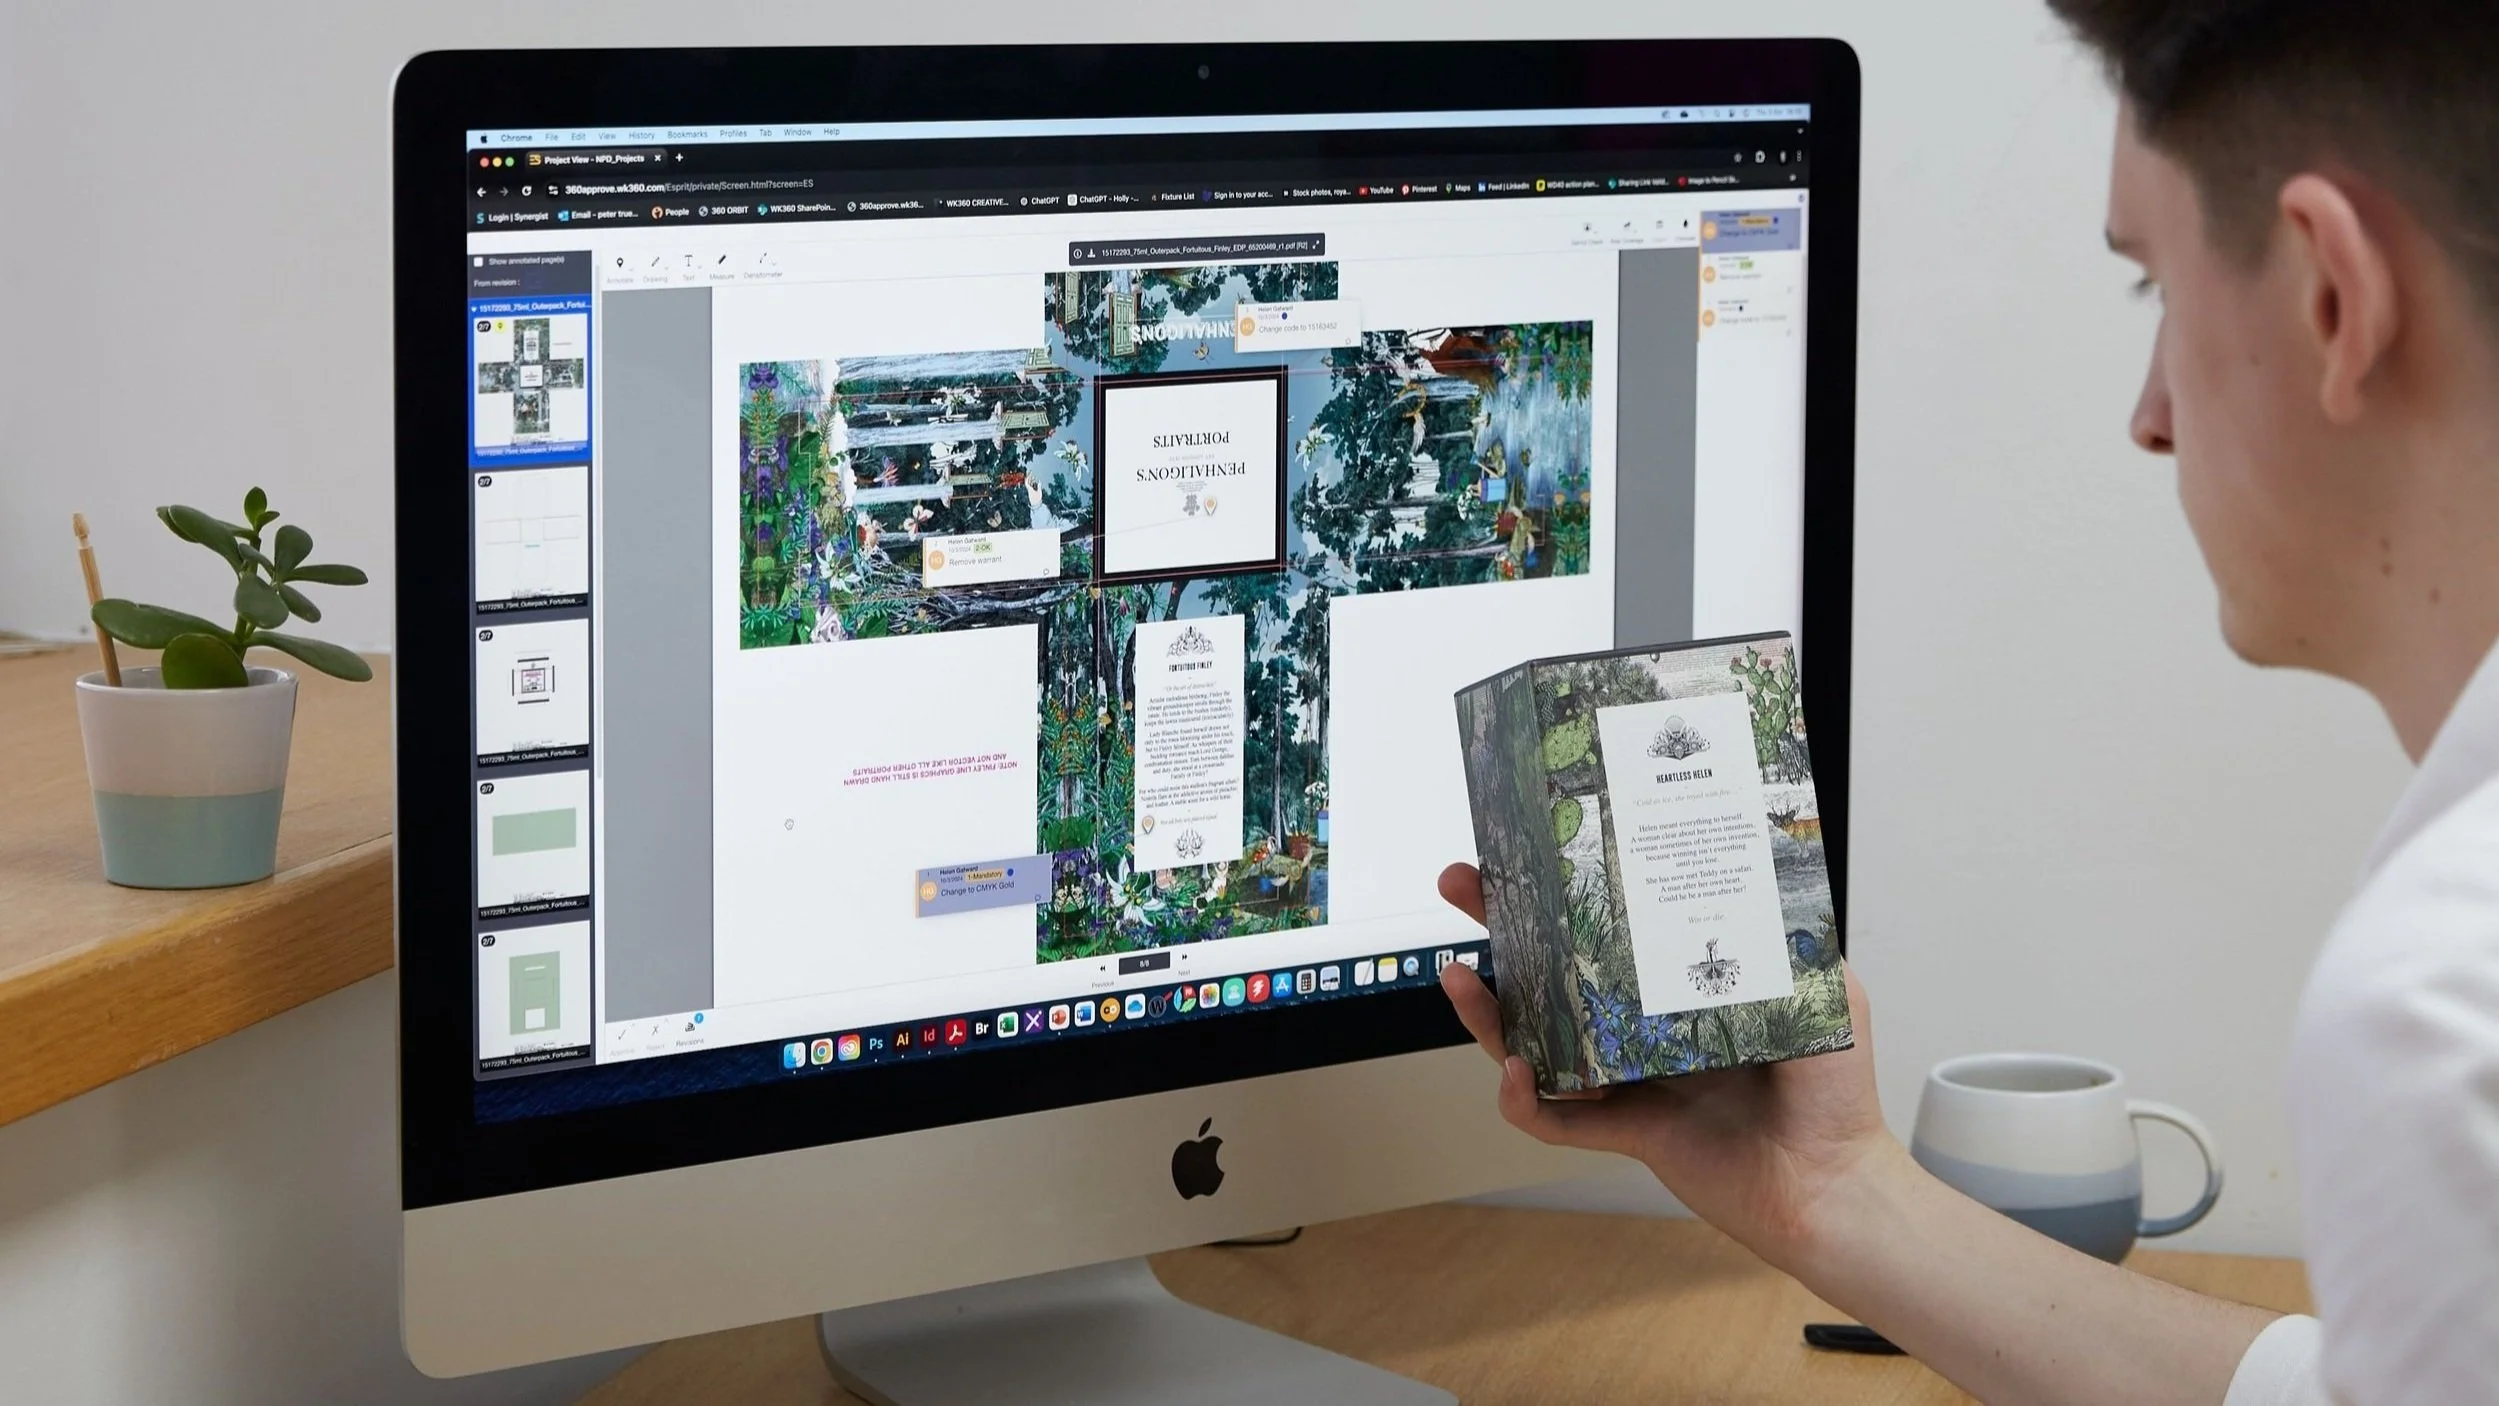
5 Factors To Consider When Designing Packaging
A successful packaging design seamlessly combines structure and graphics. But to achieve that, your design brief must include more than just creative direction. We spoke to a senior packaging artworker to find out the top five things every client should include in their packaging brief – from technical specs to brand visuals.
1) Provide a detailed packaging design brief
A comprehensive packaging brief should include information such as substrate type, printing methods, and cutter guides, as well as finalised on-pack contents such as ingredient lists, pack weights, and usage instructions. When dealing with food and medical packaging, it’s even more important to ensure your brief is detailed and correct, as there are a number of legal requirements that need to be included on your packaging artwork.
Sounds simple, but a well-detailed brief is crucial when working on packaging design. There’s so much important information to convey to the designer, both about the actual creation of the packaging, and what should go on the packaging. A comprehensive brief should be a roadmap that connects the client’s vision with the designer’s creativity, and the manufacturer’s capabilities, ensuring a seamless journey from conception to delivery.
2) Share a comprehensive brand style guide
A style guide creates a blueprint for your product range, allowing designers to create additional packaging that seamlessly aligns with existing products. A comprehensive style guide should include information on brand consistency, typography and logo usage, colour accuracy including colour breakdowns, special finishes and effects, and print production specifications. Packaging needs to work together in the retail location to create a sense of brand identity and synergy, and a style guide will help ensure cohesion between packs that could be created months, even years, apart.
3) Use high resolution images
For professional packaging, images should be classed as high resolution (300dpi or more). Being mindful of image resolution ensures that packaging maintains its intended visual impact and enhances brand perception with consumers, as well as meeting professional printing standards.
Resolution is measured in dpi (dots per inch) or sometimes ppi (pixels per inch), and it determines the clarity and sharpness of an image when printed. If you want imagery to feature on your packaging, you need to consider the resolution and how well it will scale up or down according to the size of the packaging required. A low-resolution image (one with 200 dpi or lower) will look pixelated or blurry when printed at a large size. This happens because there are not enough pixels or dots to maintain the image when the scale is increased. Images sourced from the web are usually very low res, around 72dpi, so are entirely unsuitable for use on printed packaging.
4) Understand colour reproduction
Colour reproduction in packaging is crucial for brand consistency and trust. An established brand colour acts as visual shorthand for customers on busy retail shelves, so you should consider it as vital as your logo in terms of correct usage and reproduction.
We know colour, having worked in the reprographics industry for over 45 years. Colours are reproduced and printed in different ways; RGB is used when designing on screen, whereas CMYK and Pantone are used during printing. The conversion process can lead to noticeable colour shifts, so it’s important that things like mock-ups and proofs are requested, to ensure everyone is happy with the predicted result.
5) Supply editable fonts and type details
Keep all fonts as live and editable. If a client has used an external designer to produce their initial packaging and is asking a creative agency to implement it into a range, then having live fonts on the artwork means changes and adaptations can be made quicker and easier.
Make sure your brand fonts are detailed in your style guide, including primary and secondary fonts, and the required sizes, leading and kerning. In our experience, live fonts tend to print better than outlined fonts, which can sometimes distort and affect legibility, especially at smaller sizes.
Your quick checklist for your next packaging project:
☑️ Detailed packaging brief (substrate, cutter guides, print method)
☑️ High-res images (300 dpi+)
☑️ Colour profiles (Pantone, CMYK values)
☑️ Font files (live and editable)
☑️ Brand style guide with visual references
FREQUENTLY ASKED QUESTIONS
-
A complete packaging brief should include substrate details, cutter guides, print methods, final on-pack content (like ingredients or weights), and legal requirements for regulated products.
-
A style guide ensures visual consistency across product lines, making it easier for an agency to replicate your design across multiple packs, even when they are being created months or years apart.
-
Images should be at least 300 dpi for print use. Anything below 200 dpi, especially web images at 72 dpi, will appear pixelated or blurry on packaging.
-
While outlined fonts lock in appearance, they can't be easily edited and may distort during printing. Live, editable fonts are preferred for flexibility and better print quality.
-
Pantone colours are standardised inks used to ensure exact colour matching across materials and printers. They help maintain brand consistency, especially when colour is key to brand recognition.
-
Work with print-ready colour profiles (CMYK/Pantone), request proofs or mock-ups, and ensure your brand style guide includes accurate colour breakdowns.
-
Yes. Editable files allow agencies to make quick updates, size adaptations, or correct content without rebuilding the design – saving time and cost.

